Hugo | Features: Timeline 时间线样式的装修
装修小支线:时间线排版!带有时间,点,线,和卡片,包含 Taxonomy 页面和 ShortCodes 版本。
装修 Hugo 以来一直想要一个时间线显示的方式用来显示系列博文,互联网搜索半天没找到满意的现成的格式,于是踏上了慢慢地东抄西抄博采众长指路,经过反复的实验终于获得了比较满意的效果,动态效果可以看这里 Ja! Ja! Ja! No, No, No…。
老规矩,不想看折腾的流程直接右边的 TOC 目录到 教程 部分。以下大量探索过程,不嫌弃的人请用。
我想要抄,却抄不到
最开始的时候我想区区时间线而已又不难,这么常见的需求肯定随便搜搜就能搜到了。
初步尝试:不满意!!
经过一番搜索结果我搜到了:Hugo Timeline Shortcode – MetalBlueberry 。虽然那个荧光框的看起来有点难看,起码的框架有了,我以为我随便调调,把那个丑的荧光效果调掉总能用。
然而实际效果让我悲伤;因为我的博客的文章栏目不是固定宽度是根据视窗宽度阶梯做比例的一个宽度,导致样式里用来当箭头的梯形会随着浏览器视窗宽度的变化而错位,很多时候没法严丝合缝的和气泡拼接在一起,这个情况在小屏幕时间位置发生变化后雪上加霜,因为我需要排箭头、时间和气泡,是格外的装修地狱。而且因为点线用的都是伪类的方式调整起来超绝麻烦。
我是去年开始折腾的时间线排版,那时候我还没有搭我的同人博客,对 html 和 css 的语言还不够了解,太过弱小,只能放弃修改。但我怀疑足够熟悉 css 的人应该可以直接用这个改出来自己想要的效果。有兴趣的可以试试。
再次尝试:太过弱小没有力量
在放弃了上文的方案之后,接下来的时间里我时常在 Hugo 的主题库里游荡,我坚信总有主题会做类似时间线的排版。
我先后找到了:
- GitHub - Lednerb/bilberry-hugo-theme: Premium theme for the hugo site builder. DEMO: Hello World! This is the most epic subtitle ever. | My Cool New Blog
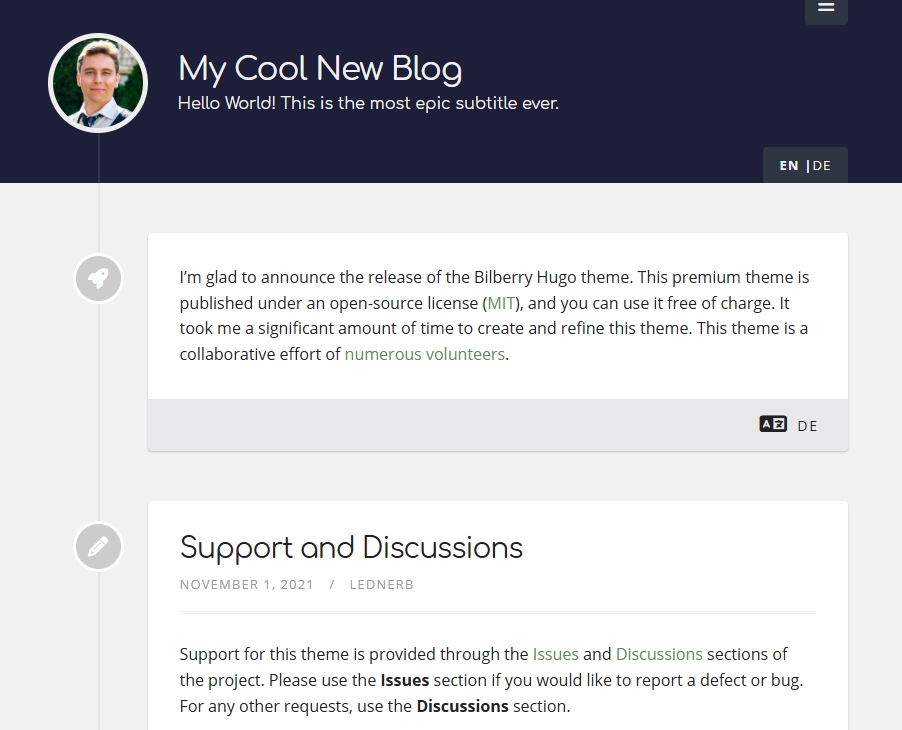
这种样式是卡片式的构图 + 前面一个圆圈里面根据页面的不同分类显示不同的图标,对于我来说用处不大,看了一下代码,发现了下面的情况:
- 里面用了好多
dict "ctx",Hugo的这部分语法我不太熟,不好理解,而且这一部分是跟线上的点里面的图标内容相关的,我剥离起来会有点困难; - 时间线的“线”部分的构成仍然是用整体容器的伪类
:before做的,点和线的结构是放在不同层次里,分离的,这样的处理适合页面主体宽度固定的主题,而我自己的主题文章栏目是比例宽度,仍然可能在缩放时造成点线分离; - 主题页的“卡片”的部分实际上是单独文章页面的文章标题周围部分直接拿过来的;很多主页面有卡片视图的主题都这么做的,可惜我的不是,网页内容部分编写移植对于我来说比较麻烦。
因此这种方式不太适合我这样柔弱的代码小白,放弃。
- GitHub - FarseaSH/hugo-theme-moments: A Hugo theme designed for micro-blogging. 专为动态发布设计的Hugo主题 DEMO: farseash.github.io/demo-hugo-theme-moments/demo/)
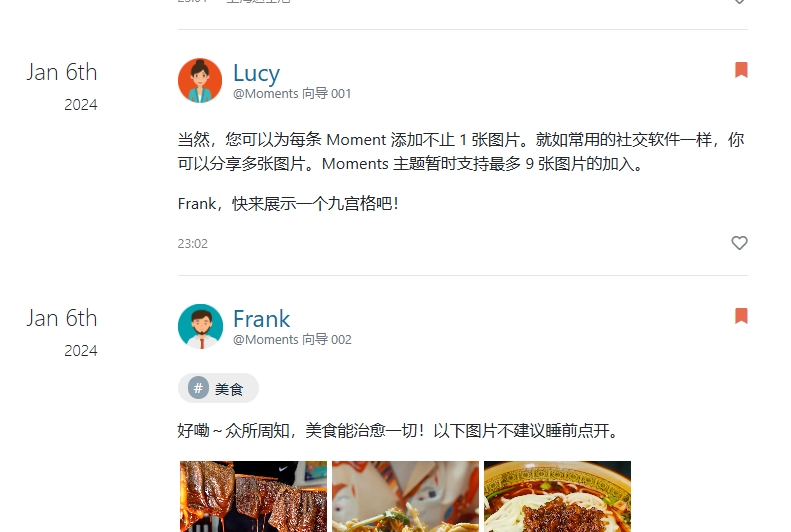
这个设计近似朋友圈,其实整体结构是比较类似我想要的效果,但是没有直接的点线结构,其实有点违背我想要“时间线”的初衷——我要一条线!我要点在线上!书签和点赞按钮都是装饰也有一点幽默,虽然这个点赞完全可以靠这篇文章 ■■Loading:《hugo 装修日志 10》■■ 里提供的方法解决。
由于以上的种种原因,这两种做近似时间线的方式都没法满足我的需求,只能遗憾离场。
事不过三:我找到了!
经过前面的挫折,我意识到,其实做时间线相关的样式对我来说最重要的其实是处理点线结构,让点在线上,所以我开始在主题里面找有左边一条线的处理,我最后在 Hugo 的主题大海里捞到了这个:GitHub - kaiiiz/hugo-theme-monochrome: Monochrome is a fast, clean and responsive hugo theme,DEMO: Monochrome。
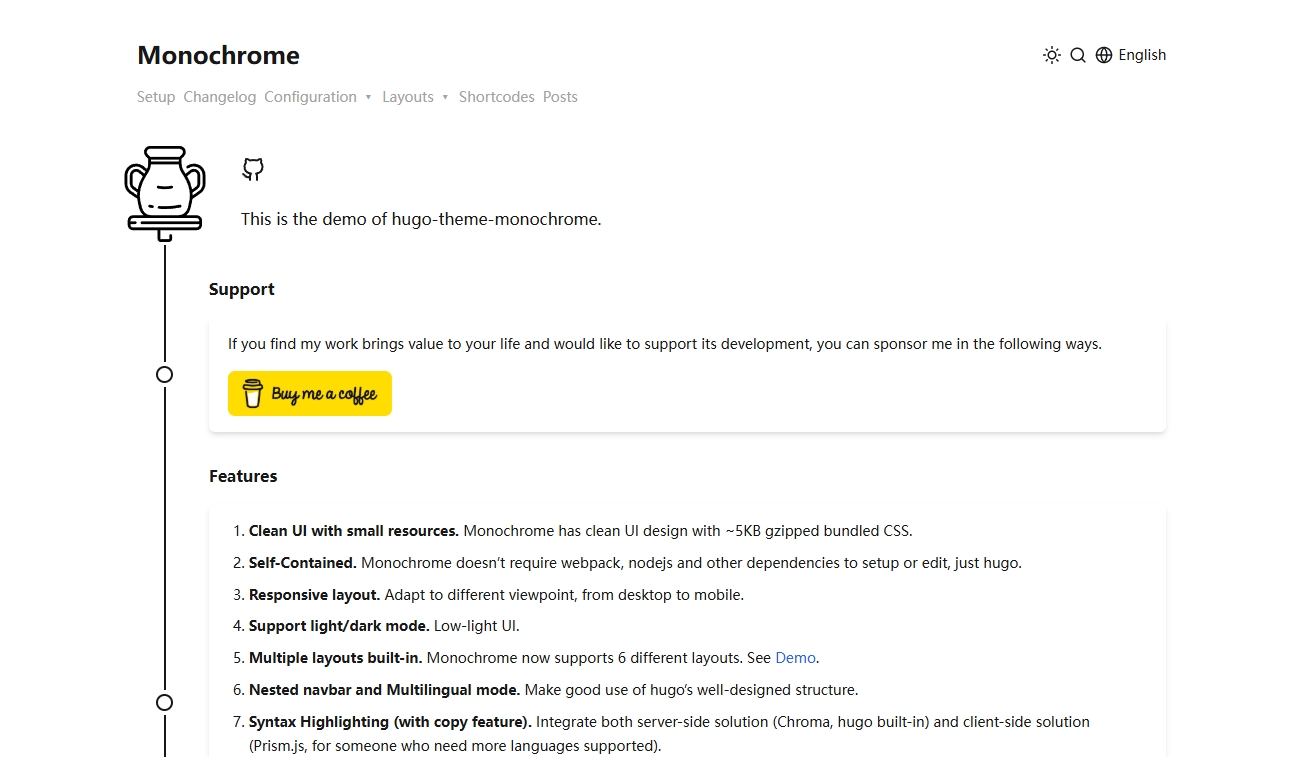
其实可以看到这个样式本身不带时间标注,并不完全符合我对“时间线”样式的要求,但是点线和卡片的关系很清楚,于是我决定了可以 根据这个来抄。
动手!!!
在抄的时候我发现这个主题的 layout 真是层层叠叠,partials 套着 partials,一层一层的地挨个展开每一个 partials 对于我来说实在是非常浪费心力,再加上这个主题还有刻意设计对于判断为时间线第一项和最后一项的特殊处理(如第一项前面要从一个图标下面长出来,最后一项的点成为了时间线的终点),对于我来说有点太麻烦了,于是我最后直接右键检查开始看这个时间线页面的元素排版到底怎么做的。
其实如果抛去前面的特殊处理,只看点线卡的部分,这个布局还蛮简单的,主要用了 css 的 flexbox (中文叫弹性容器?)相关的思路,本质是两层 flexbox,第一层是一个内容横向排列的 flexbox,摆了两个内容,一个是点线容器,一个是内容卡片;然后点线容器自己则是一个内容竖着排列的 flexbox,依次放了线、点、线,而点固定大小,两条线弹性增长平分多余的空间,这样保证了点会被两条等长的线夹在最中间。
而这个主题没有时间的缺点,则可以由在点线容器之前再加一个容器,专门放时间标注,让这个时间标注在垂直方向上居中,就可以和线上的点对其了。我之后又觉得这个点和卡片的指向性不够明显,做完了以后为了效果加了个小三角,得到了最终的成果。

好!接下来让我为大家展示怎么做的!
网页模板 - 教程
#1 添加网页代码 | HTML
一些提前的预警:
- 我这个时间线最开始是用来做我的系列文章展示的,所以代码是放在我的
layouts/taxonomy/series.html里面的。我的遍历是遍历在系列里的文章,自带文章链接的要素,复制黏贴的时候注意检查,可能有些时候直接移植会导致错位。 - 我的个人博客
Hugo版本是v0.124.1,后续版本部分代码逻辑变动可能会导致不完全适用。 - 我的一些文章的
Front matter里有个参数叫banner,是我设置的文章的题图;大致代码行内容是banner: "img/posts/music/TaylorSwift-TTPD_Banner.jpg"(注意Front matter不同格式toml和yaml的区别,我这里是yaml格式的),所以我的时间线卡片有横版图。如果想给卡片加图的注意一下这里的代码。
在你想要做时间线的网页模板里加入如下代码(是我手搓的代码和注释,由于本人の Chinese 本当下脚如果哪里不清楚可以评论讲一下)。
 1<div class="timeline-container"> <!--时间线容器-->
 2  {{ range $index, $page := .Data.Pages.ByDate.Reverse }}<!--倒序遍历页面-->
 3    <div class="timeline-item"><!--每个页面构成的项-->
 4
 5      <div class="timeline-item-line-date"><!--时间-->
 6        <div class="timeline-year">{{ .PublishDate.Year }}</div><!--年份-->
 7        <span class="timeline-date">{{ .PublishDate.Month | int }}-{{ .PublishDate.Day }}</span><!--日期-->
 8      </div>
 9
10      <div class = "timeline-item-line-container"><!--点线容器-->
11        <div class="timeline-item-line"></div><!--线-->
12        <div class="timeline-item-dot"></div><!--点-->
13        <div class="timeline-item-line"></div><!--线-->
14      </div>
15
16       <div class ="timeline-triangle-left"></div><!--小三角-->
17
18       <a href="{{ .Permalink }}"><!--整个卡片都加上超链接-->
19         <div class = "timeline-item-card"><!--内容卡片-->
20           {{ if .Params.banner}}<!--如果有题图,卡片加上图-->
21             <img src="{{ .Params.banner | absURL}}" class="card-pic">
22           {{ end }}
23           <div class = "timeline-item-text"><!--卡片的文字部分-->
24             <div class = "timeline-item-text-title">{{ .Title }}</div>
25             <div class = "timeline-item-text-body">
26               {{ if .Description }}{{ .Description }}
27               {{ else }}{{ .Summary }}{{ end }}
28             </div>
29           </div>
30         </div>
31       </a>
32
33     </div>
34  {{ end}}
35</div>
#2 添加页面样式 | CSS
因为是关于按钮样式的内容,每个主题应该都不一样,建议复制下来自己改一改。我还是放在 custom.css 里,所以省去引入的部分。
  1.timeline-container {
  2  width: 100%;
  3  position: relative;
  4  margin-left: 20px;
  5  margin-top: 40px;
  6}
  7
  8.timeline-item {
  9  display:flex; /*第一层弹性容器*/
 10  flex-direction: row;/*容器内部元素横向排列*/
 11  gap: 5px;/*容器元素间隔*/
 12}
 13
 14.timeline-item a,
 15.timeline-item:hover {
 16  text-decoration: none; /*覆盖主题内的超链接自动加下划线样式*/
 17}
 18
 19.timeline-item-line-date { /*日期*/
 20  color: #6e6e6e; /*字色*/
 21  margin: auto 0; /*日期元素垂直居中*/
 22  line-height: 1; /*调整行高*/
 23  text-align: right; /*字体右居中*/
 24  .timeline-year {
 25    font-size: 20px; /*年份放大*/
 26    color: black; /*年份自测*/
 27  }
 28}
 29
 30.timeline-item-line-container { /*点线容器*/
 31  width: 40px;
 32  display: flex; /*弹性容器*/
 33  flex: 0; /*容器不增长宽度*/
 34  flex-direction: column; /*容器内部元素竖向排列*/
 35  position: relative;
 36  align-items: center; /*内部元素在排列方向上居中*/
 37  margin-right: 5px;
 38  margin-left: 5px;
 39}
 40
 41.timeline-item-line { /*线*/
 42  background-color: #444; /*黑色线*/
 43  flex: 1; /*线自动跟随容器高度增长*/
 44  justify-content: center; /*和容器主轴方向垂直轴的朝向居中*/
 45  width: 5px; /*线的宽度*/
 46}
 47
 48.timeline-item-dot{ /*点*/
 49  width: 2.5rem; /*宽*/
 50  height: 2.5rem; /*高*/
 51  border-radius: 50%; /*圆*/
 52  margin: 0.5rem 0; /*上下加间隔*/
 53  border: 0.5rem solid #9055a2; /*定义粗细和颜色*/
 54}
 55
 56.timeline-triangle-left {
 57  width: 0;
 58  height: 0;
 59  border-top: 0.625rem solid transparent;/*三角的大小*/
 60  border-bottom: 0.625rem solid transparent;/*三角的大小*/
 61  border-right: 1.25rem solid #9055a2;/*三角的大小和颜色*/
 62  margin: auto 0; /*垂直居中*/
 63}
 64
 65.timeline-item-card {
 66  margin: 40px 15px;/*卡片和其他卡片间隔*/
 67  width: min(750px, 95%);/*卡片宽度,750px或者95%里更小的值*/
 68  border-radius: 5px;/*卡片圆角*/
 69  box-shadow: 0 4px 6px -1px rgba(0, 0, 0, .1), 0 2px 4px -1px rgba(0, 0, 0, 6%);/*卡片阴影*/
 70  background-color: #fffffa;/*卡片背景颜色*/
 71}
 72
 73.timeline-item-card:hover { /*鼠标悬浮时卡片散发有色阴影*/
 74  box-shadow: 0 0 3px 4px #d1b7d9;
 75}
 76
 77.card-pic{ /*卡片图片处理*/
 78  border-top-left-radius: 5px; /*图片左上圆角*/
 79  border-top-right-radius: 5px; /*图片右上圆角*/
 80  -o-object-fit: cover; /*图片覆盖容器框架*/
 81  object-fit: cover;
 82  width: 100%;
 83  max-height: 300px; /*图片最大高度300像素*/
 84}
 85
 86.timeline-item-text{
 87  margin-top: 1rem;
 88  padding: 1rem 2rem; /*文字加内部的包裹*/
 89}
 90
 91.timeline-item-text-title {
 92  font-weight: bold; /*标题粗体*/
 93  font-size: 20px; /*标题字体大小*/
 94  line-height: 1.25; /*标题行高修改*/
 95}
 96
 97.timeline-item-text-body {
 98  color: #707070 !important; /*主题对在链接内的颜色有设置,强行覆盖*/
 99  margin-top: 0.5em;
100}
101
102
103@media screen and (max-width: 600px) { /*屏幕宽度小于600像素时处理,用于调整手机视图*/
104
105  .timeline-container {
106    margin-left: 0; /*容器左侧不再空格*/
107  }
108
109  .timeline-item-line-date {
110    font-size: 13px; /*修改日期字体大小*/
111    .timeline-year{
112      font-size: 16px; /*修改日期字体大小*/
113    }
114  }
115
116  .timeline-item-line-container { /*修改点线容器*/
117    margin-right: 0px; /*右侧空间*/
118    margin-left: 5px; /*左侧空间*/
119  }
120
121  .timeline-item-line {
122    width: 4px; /*线的宽度*/
123  }
124
125  .timeline-item-dot {
126    border: 0.4rem solid #9055a2; /*点的粗细*/
127    width: 2rem; /*宽*/
128    height: 2rem; /*高*/
129  }
130
131  .timeline-triangle-left { /*三角的大小*/
132    border-top: 0.5rem solid transparent;
133    border-bottom: 0.5rem solid transparent;
134    border-right: 1rem solid #9055a2;
135  }
136
137  .timeline-item-card { /*卡片修改*/
138    width: 100%;
139    margin-left: 5px;
140  }
141
142  .timeline-item-text {
143    margin-top: 0;
144    font-size: small;
145    .timeline-item-text-title {
146      font-weight: bold;
147      font-size: 18px; /*字体大小*/
148      line-height: 1.25; /*行高*/
149    }
150  }
151
152}
好啦!大功告成!现在你的网页模板里就有一个有时间线的样式排布的代码啦!
延伸:短代码 | Shortcodes
最开始我本来写完就写完了,朋友后来说喜欢我这个样式,想要我出了改个短代码版本的。我心想短代码样式可能和页面有点不同,我干脆顺手帮忙改了完事,所以就花了一点时间研究一下,改了改。
目前短代码时间线效果如下!用了我姐的部分专辑的顺序和时间,强迫所有人看我推,嘿嘿(?
示例

Taylor Swift is the debut studio album by the American singer-songwriter Taylor Swift. Swift relocated from Pennsylvania to Nashville, Tennessee at 14 to sign a songwriting contract with Sony/ATV Tree Music Publishing.
Her recording contract with Big Machine in 2005 enabled her to work on the album with the producer Nathan Chapman during her freshman year of high school.
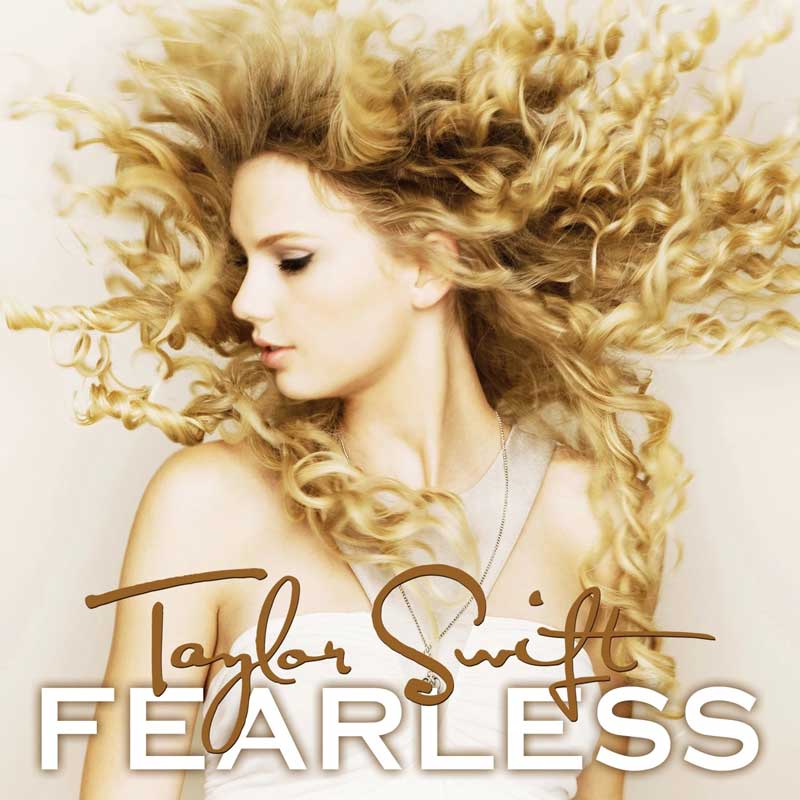
Fearless is the second studio album by Taylor Swift. She wrote the majority of the album while touring in 2007–2008 and produced it with Nathan Chapman.
Inspired by Swift’s adolescence, Fearless explores love and heartbreak using references to her personal life and fairy tale–inspired lyrical imagery.
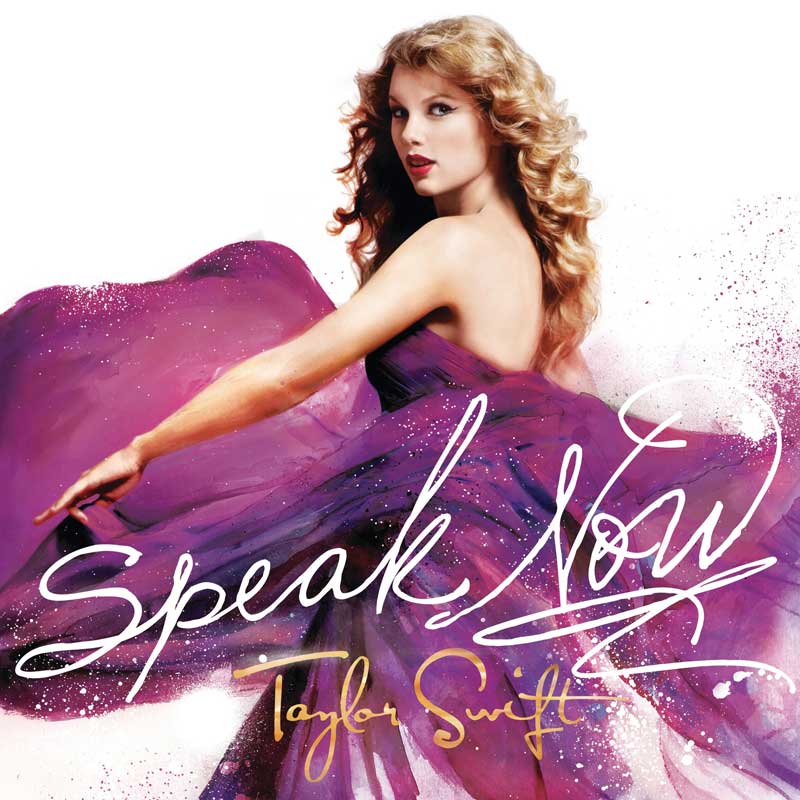
Speak Now is the third studio album by Taylor Swift. Swift wrote the album entirely herself while touring in 2009–2010 to reflect on her transition from adolescence to adulthood.
Swift framed Speak Now as a loose concept album about the unsaid things she wanted to deliver to the subjects of her songs.
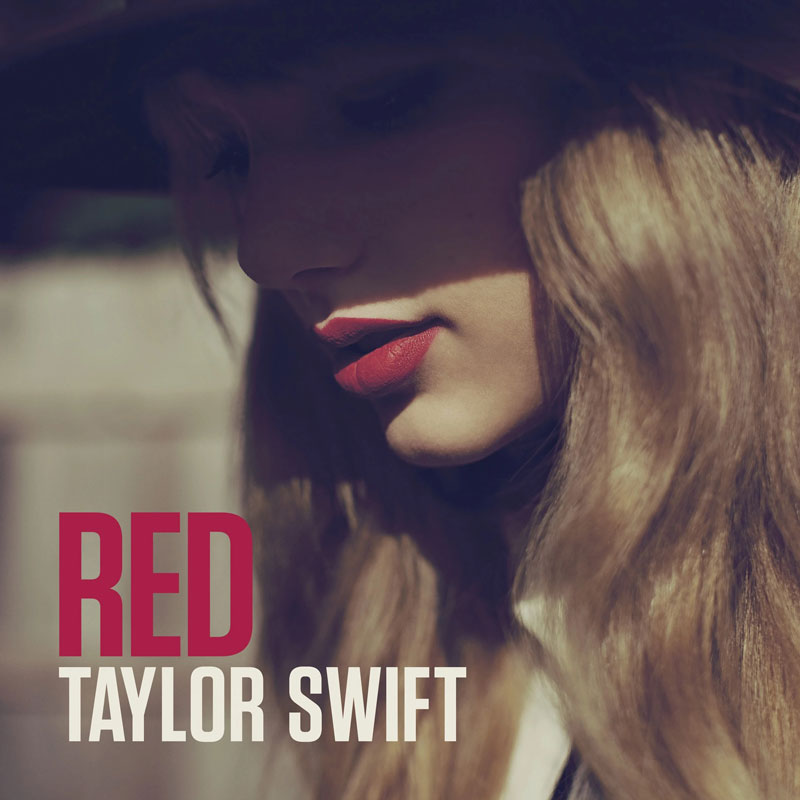
Red is the fourth studio album by Taylor Swift. Swift designated Red as a breakup album and her last to be promoted as country music.
To convey the complex and conflicting feelings ensuing from lost love through music, Swift engaged new producers to experiment with styles other than the country pop sound of her past albums.

1989 is the fifth studio album by Taylor Swift. Titled after Swift’s birth year as a symbolic rebirth, it was the album that recalibrated her artistic identity from country music to pop.
The songs chronicle the aftermath of a failed relationship with lyrics that expand on Swift’s autobiographical details; they depict heartbreak, recovery, and self-discovery from lighthearted, wistful, and nostalgic perspectives.
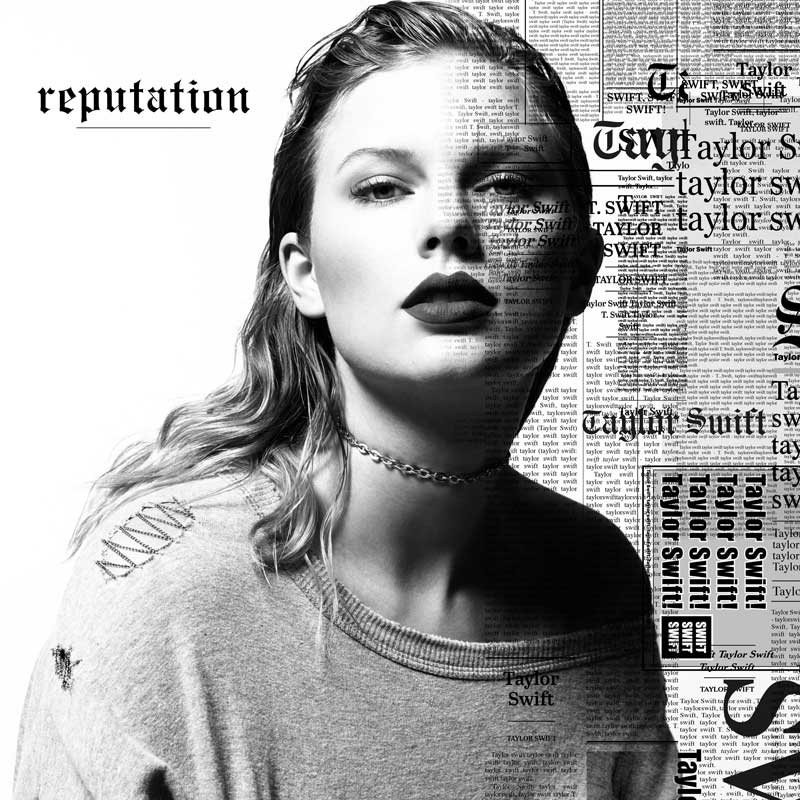
Reputation is the sixth studio album by Taylor Swift. Swift conceived the album amidst media scrutiny on her personal life that blemished her once-wholesome ‘America’s Sweetheart’ image.
Reputation references her romantic relationships and celebrity disputes; its songs form a linear narrative of a narrator expressing anger and affirming vengeance against wrongdoers, and finding solace in a blossoming love.
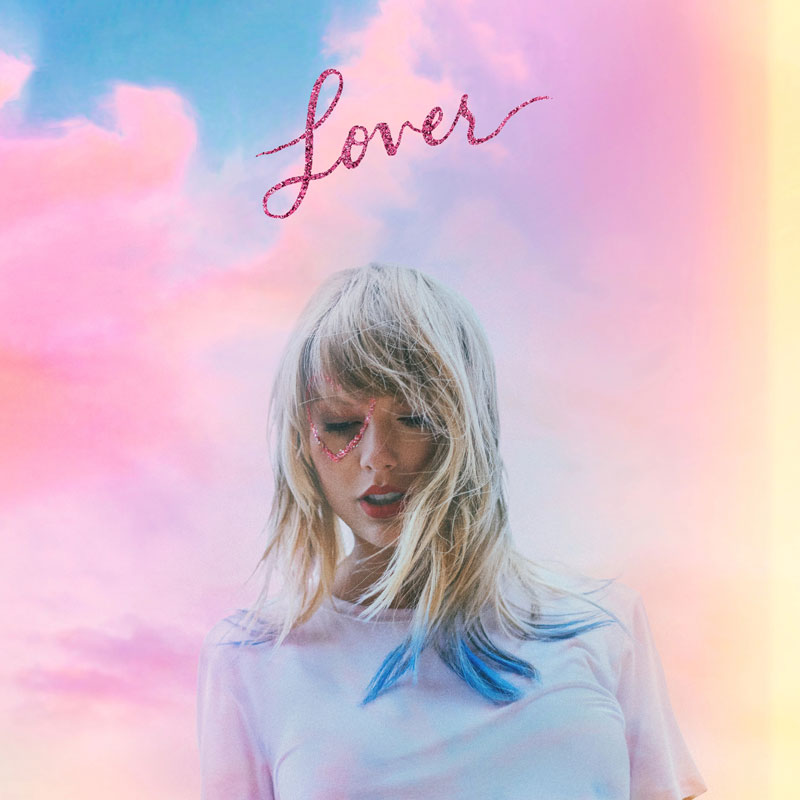
Lover is the seventh studio album by Taylor Swift. It is her first album after her departure from Big Machine Records, which caused a public dispute over the ownership of Swift’s past albums.
Described by Swift as a ’love letter to love’, the album explores wide-ranging emotions like infatuation, commitment, lust, and heartache; a few songs discuss political issues such as LGBT rights and feminism.
Folklore is the eighth studio album by Taylor Swift, surprise-released by Republic Records. Swift recorded her vocals in her L.A. home studio and worked virtually with the producers.
Conceived during quarantine in early 2020 amidst the COVID-19 pandemic, Folklore explores themes of escapism, nostalgia, and romanticism. Using a set of characters and story arcs to depict fictional narratives, it departs from the autobiographical songwriting that had characterized Swift’s past albums.

Evermore is the ninth studio album by Taylor Swift, surprise-released less than five months after her previous studio album Folklore.
Swift described Evermore as an offshoot of ’the folklorian woods’—an escapist, cottagecore-inspired direction she first ideated with Folklore during the COVID-19 pandemic; she regards them as sister albums.
Midnights is the tenth studio album by Taylor Swift.
She conceived it as a concept album about nocturnal ruminations inspired by her sleepless nights.

The Tortured Poets Department is the eleventh studio album by Taylor Swift. Two hours after its release, it was expanded into a double album subtitled The Anthology, containing a second volume of songs.
Swift developed TTPD amidst the Eras Tour in 2023, with the resultant, heightened media scrutiny on her life inspiring the record. Self-described as her ’lifeline’ album, its introspective songs depict emotional tumult, with self-awareness, mourning, anger, humor, and delusion as dominant themes.
短代码 - 教程
#0 短代码使用样式 | .md
上面部分内容的短代码样式是:
1{。{< timeline >}}
2
3{。{< event date="2006-10-24" title="Taylor Swift" attribution="*Taylor Swift* album cover, From [Swiftipedia](https://taylorswift.fandom.com/wiki/Taylor_Swift)" imgURL="img/posts/music/TaylorSwift-Taylor_Swift.jpg" content="***Taylor Swift*** is the debut studio album by the American singer-songwriter Taylor Swift. Swift relocated from Pennsylvania to Nashville, Tennessee at 14 to sign a songwriting contract with Sony/ATV Tree Music Publishing. <p>Her recording contract with Big Machine in 2005 enabled her to work on the album with the producer Nathan Chapman during her freshman year of high school.</p>" >}}
4
5{。{< event date="2021-04-09" title="Fearless (Taylor's Version)"  content="***Fearless (Taylor's Version)*** is the first re-recorded album by Taylor Swift. A re-recording of Swift’s second studio album, _Fearless_ (2008), it is part of her re-recording project following the 2019 dispute over the master recordings of her back catalog. " >}}
6
7{。{< /timeline >}}
复制后使用时需要把每个 {。{< 里的中文句号删除,使得每行开头变成短代码标准的标签开头。做这个处理是因为不处理的话上面那一段内容会自动渲染出时间线,没法向大家展示使用范例。
需要注意的是,timeline 是有闭合标签的完整的短代码,而 event 是一种单行的内联的短代码,两种形式是交错的。event 标签的短代码里提供了几个参数,这里解释一下:
date: 必填,格式为“四位数年份 - 两位数月份 - 两位数天数”,这个部分的内容写的是短代码时间线事件的日期。title: 必填,短代码时间线事件的标题。content: 必填,短代码时间线事件的文字内容,允许带网页标签和markdown方式的渲染。imgURL: 选填,内容格式为放在static文件夹目录下的图片路径带文图片文件名,短代码时间线事件的题图,出现在文字内容上方(自定义css和html可以修改位置和样式)。attribution: 选填,短代码时间线事件题图的署名,出现在题图的下面,允许markdown方式的渲染,会带链接什么的。
#1 添加短代码文件 | HTML
- 创建一个
layouts/shortcodes/timeline.html,里面的代码如下,这一步目的主要是给短代码的时间线样式换个容器的类名,方便后续调整样式。
1<div class="timeline-container-shortcode">
2    {{ .Inner }}
3</div>- 接着创建一个
layouts/shortcodes/event.html,里面的代码如下,这一步就是获取事件短代码里的参数和内容,给时间线里的每一个事件渲染出时间线该有的样式。
 1{{- $content := .Get "content" -}}
 2{{- $eventContent := $content | $.Page.RenderString | safeHTML -}}
 3
 4<div class="timeline-item">
 5  {{ if .Get "date" }}<!--如果有日期显示日期-->
 6  {{ $dateString := .Get "date" }}
 7  {{ $eventDate := time.AsTime $dateString }}
 8  <div class="timeline-item-line-date">
 9    <div class="timeline-year">{{ $eventDate.Year }}</div>
10    <span class="timeline-date">{{ $eventDate.Month | int }}-{{ $eventDate.Day }}</span>
11  </div>
12  {{ end }}
13
14<!--点和线-->
15  <div class = "timeline-item-line-container">
16    <div class="timeline-item-line"></div>
17    <div class="timeline-item-dot"></div>
18    <div class="timeline-item-line"></div>
19  </div>
20
21<!--小三角-->
22  <div class ="timeline-triangle-left"></div>
23
24  <div class = "timeline-item-card">
25    {{ if .Get "imgURL" }}<!--如果有图片-->
26      {{ $imagesrc := .Get "imgURL" }}
27      {{ $baseURL := .Site.BaseURL }}
28      {{ $eventPic := print $baseURL "/" $imagesrc }}
29      <img data-fancybox="timeline-shortcodes" data-caption="{{ .Get "title" }},{{- if .Get "date"}}{{ $dateString := .Get "date" }}{{ $eventDate := time.AsTime $dateString }}{{ $eventDate.Format "2006-01-02" }}{{ end -}}" src="{{ $eventPic }}" class="card-pic">
30      {{ if .Get "attribution" }}<!--如果图片有署名-->
31        {{ $attribution := .Get "attribution" }}
32        {{ $imageAttr := $attribution | markdownify  }}
33        <div class="attribution">{{ $imageAttr }}</div>
34      {{ end }}
35    {{ end }}
36
37    <div class = "timeline-item-text">
38      {{ if .Get "title" }}<!--如果有标题-->
39      <div class = "timeline-item-text-title">{{ .Get "title" }}</div>
40      {{ end }}
41      <div class = "timeline-item-text-body">{{ $eventContent }}</div>
42    </div>
43  </div>
44</div>
需要注意,如果你的 event.html 短代码里面的 content 部分渲染结果没能带上网页标签(如分段 <p> 或 <br>),有可能是因为你的主题不接受可能不安全的网页元素渲染,可以在 config.toml 里面修改设置如下,再试试。
20250401:突然发现代码不显示图片,所以改了一下代码的逻辑。
1[markup]
2  [markup.goldmark]
3    [markup.goldmark.renderer]
4      unsafe = true
我改了以后就好了,如果还不行,那就谷歌一下吧!
#2 修改部分样式以适应文章内展示 | CSS
首先,如果你是直接跳到短代码这部分的,请你回到 网页模板 - 教程 下面的 添加页面样式 | CSS 部分,把里面的 CSS 代码粘贴到你放置自定义 CSS 代码的地方。
第二步,在你刚刚添加的样式代码下方,复制下面的新代码,对短代码的时间线样式进行覆盖。
 1.timeline-container-shortcode {
 2  width: 100%;
 3  position: relative;
 4  margin-left: 20px;
 5  margin-top: 40px;
 6
 7  .timeline-item-card:hover {
 8    box-shadow: 0 4px 6px -1px rgba(0, 0, 0, .1), 0 2px 4px -1px rgba(0, 0, 0, 6%);/*覆盖悬浮鼠标时卡片阴影的样式*/
 9  }
10
11  .timeline-item-text {
12    border-radius: 5px;
13    margin-top: 0;
14    padding-top: 0;
15    .timeline-item-text-body {
16      line-height: 1.3;
17    }
18  }
19
20  p {
21    margin: 0 0 0.5em 0;
22  }
23
24  .attribution { /*署名样式*/
25    max-width: 100%;
26    width: 100%;
27    font-size:small;
28    margin-top: .25em;
29    padding: 0 1em;
30    color: #707070;
31    text-align: right;
32    line-height: 1.25;
33  }
34}
35
36@media screen and (max-width: 600px) { /*屏幕宽度小于600像素时处理,用于调整手机视图*/
37  .timeline-container-shortcode {
38    margin-left: 0;
39    .attribution {
40      font-size: 10px;
41    }
42  }
43}
当然,你如果讨厌冗余代码又不打算做网页元素版本的时间线,还比较有耐心,也可以从我之前的 CSS 里面剔除对你来说非必要的样式,我懒,我就不做了。
最后,祝大家都用上让自己快乐的时间线!